


Pool Cage Renovation Ideas for Costs, Permits, and Priorities

A new screen isn’t always the right first step. The best pool cage renovation ideas start with the enclosure’s condition: address structural or attachment concerns before deciding whether to repair sections or replace the screen. For context, a full pool renovation involving structural changes, deck replacement, and equipment overhauls typically takes 4 to 8 weeks, according to Angi; an enclosure project’s schedule depends on its own scope.
It’s understandable to want a clear budget and a practical way to make the pool area safer and more usable. This guide explains how to set priorities, compare localized repairs with a complete re-screen, understand what affects cost and timing, and plan around permit requirements. You’ll also find ways to assess the frame, screen, fasteners, and surrounding deck, so cosmetic updates don’t distract from essential repairs. The goal is a renovation plan based on your enclosure’s condition and the changes you want to make.
Table of Contents
1. Renovation costs, timelines, and permits
Start by separating pool work from enclosure work. A pool remodel changes the basin, finish, equipment, or deck; cage work addresses the frame, screen, and attachments. Since these scopes affect budgets and schedules differently, list each requested change before comparing estimates. Keep pool remodeling figures separate from the cost of a screen enclosure project.
Scope drives the larger pool-renovation budget. Those projects may involve several components, rather than one isolated finish update. A full pool renovation involving structural changes, deck replacement, and equipment overhauls typically takes 4 to 8 weeks, according to Angi. A screen project has a different scope, so don’t apply that pool timeline to enclosure work.
For an existing pool, separate visible work from underlying conditions in the estimate. Record whether the plan includes coping, decking, finish, equipment, or structural changes. List screen and frame work separately. This makes it easier to compare similar scopes and see whether a new finish is competing with necessary maintenance. Organize the budget by work category, not under a broad label such as “backyard remodel.”
Permit requirements depend on the proposed work and applicable local rules. A cosmetic refresh differs from changing an enclosure’s footprint, altering structural members, or adding electrical work. Before choosing finishes, write down the scope and distinguish repairs from structural or electrical changes. For a St. Augustine project, use that description to identify the relevant permit review for the property. Don’t assume a permit rule for pool work automatically covers the cage, or vice versa.
Lighting and fans can make a pool cage more usable after dusk or during warm weather. Plan fixture placement, wiring, and attachment points together, since electrical additions and structural mounting can affect the work scope. Residential LEDs use at least 75% less energy and last up to 25 times longer than incandescent bulbs, according to the U.S. Department of Energy. Add fans or other features only after their installation needs are included in the project plan.
When planning screen enclosure lighting and related upgrades, regional pricing can also shift a pool budget. Contractors partnering with North Florida Screen Enclosures note that local market rates reflect regional labor and material costs specific to our area. Treat broad geographic comparisons only as context rather than a direct quote, and keep the estimate tied to the specific work requested. Ask professionals to separate pool lighting from cage-related scope so the figures remain comparable and any proposed electrical or attachment work is clear before approval.
2. Screen enclosure replacement
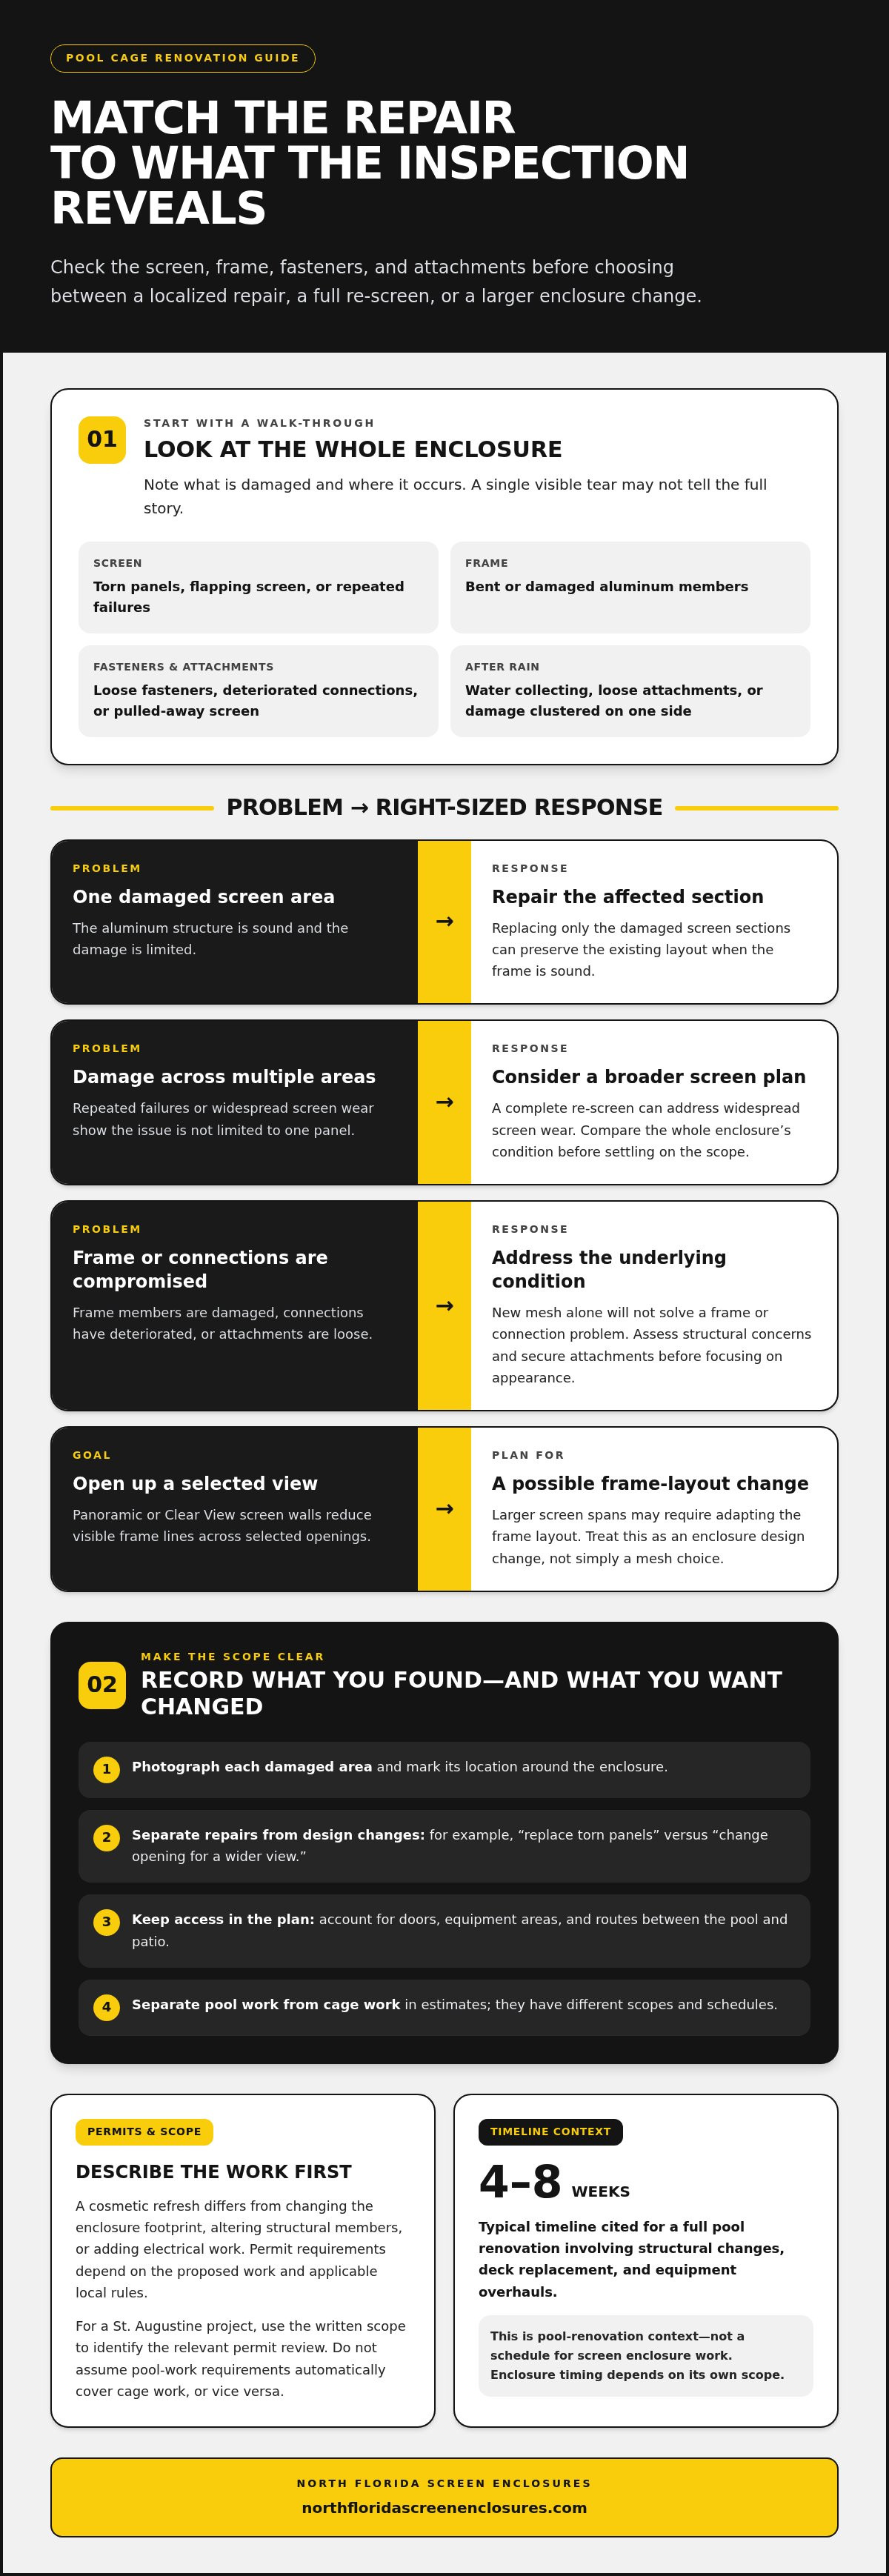
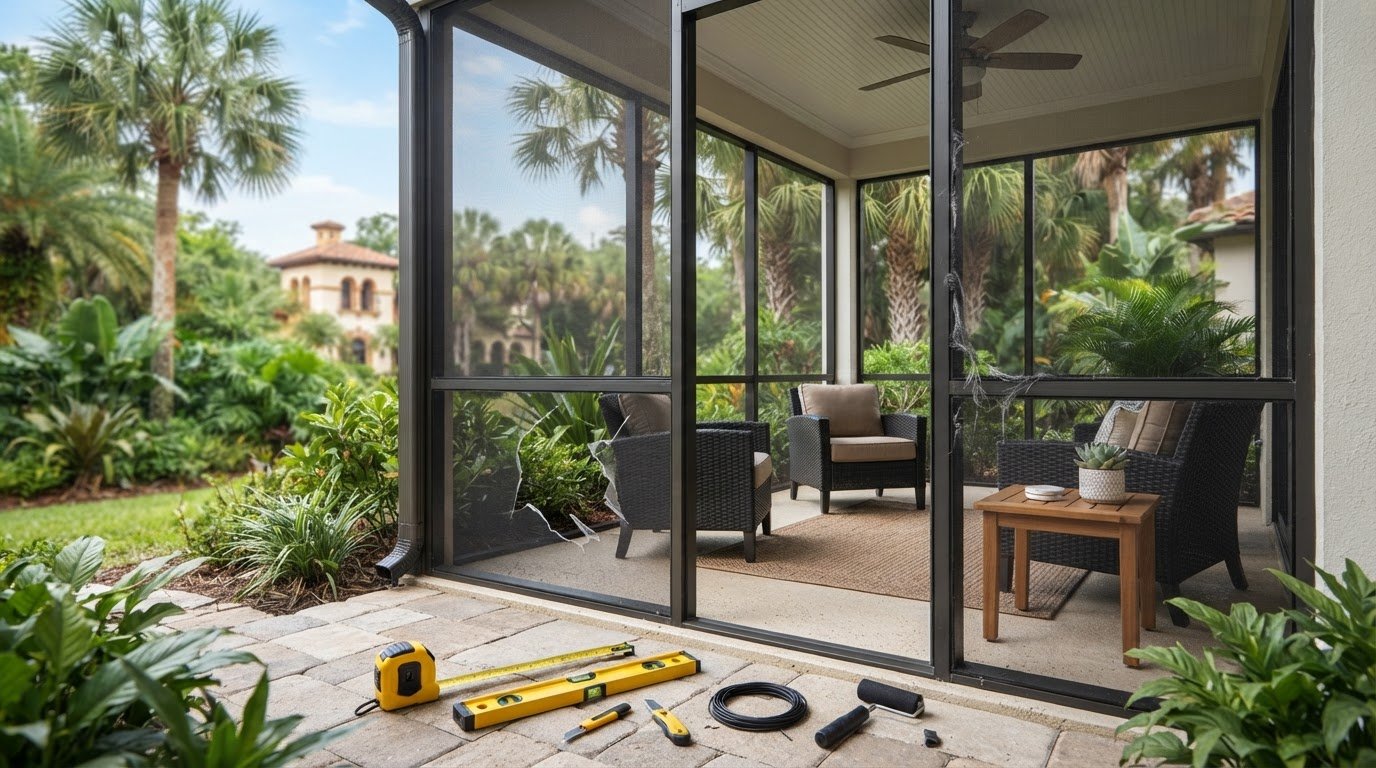
A full replacement may make sense when damage affects multiple areas or the frame cannot support a reliable repair. Start with a walk-through and note torn panels, loose fasteners, bent members, and places where the screen has pulled away. One damaged panel may need a localized repair; repeated failures across the enclosure may call for a broader plan. Record each issue before comparing repair and replacement scopes, so your decision reflects the whole structure, not just the most visible tear.
Assess how the screen, frame, and attachments work together. If the aluminum structure is sound and damage is limited, replacing affected screen sections can preserve the existing layout. If frame members are damaged or connections have deteriorated, new mesh alone won’t solve the underlying problem. Several loose panels and compromised attachments call for a different assessment than one small puncture beside a doorway.
Panoramic or Clear View screen walls can open up a view by reducing visible frame lines across selected openings. This option may require adapting the frame layout to support larger screen spans, then fitting screen to the revised openings. Treat it as a change to the enclosure’s design, not simply a different mesh choice.
Plan the replacement around how you use the outdoor space. If you’re coordinating enclosure work with a pool remodel, outdoor kitchen, or lighting, write down which features need to remain accessible, including doors, equipment areas, and routes between the pool and patio. This helps prevent a custom screen layout from blocking everyday movement or making maintenance harder.
Weather exposure matters, too. Walk around the enclosure after rain and note where water collects, screens flap, or attachments appear loose. Record whether damage clusters on one side or appears across several elevations. A repeated pattern can help distinguish a local impact from broader wear. If construction changes the frame or openings, separate that scope from screen replacement and account for any applicable permit review.
Before work begins, make a simple project record: photograph each damaged area, mark its location, and list the intended changes. For example, separate “replace torn panels” from “change opening for a wider view.” This keeps the repair choice clear and makes the goals easier to discuss. A complete re-screen can address widespread screen wear, while enclosure repairs focus on specific damage. Match the work to what the inspection reveals, then coordinate the finished enclosure with the rest of the outdoor season.
Broader renovation plans can also shape enclosure decisions. Commercial pool enclosures are described as covering pools 75 feet or longer and 30 feet wide. A winter-ready heated pool enclosure is described as using insulated multi-wall polycarbonate panels typically 16mm or thicker, a detail to consider when planning for colder conditions.
A pool enclosure renovation example includes installing 1” remodel pavers on the existing pool deck. Pool equipment older than 10 to 12 years is usually cheaper to replace than repair, so equipment condition may inform the renovation scope. Replacing a vinyl pool liner every few years is also suggested as a way to refresh the pool.
3. Renovation prioritization and safety
Prioritize pool cage renovation by addressing structural concerns before comfort or appearance. Inspect the frame, connections, fasteners, doors, and walking surface, and note loose, bent, or corroded areas. A sound structure gives you a better basis for later changes to the pool area. This order keeps decorative ideas from distracting from repairs that affect access around the pool.
Include the pool-to-deck joint in your inspection. Pool mastic repair and replacement are needed every 5 to 10 years to help ensure structural integrity. Look for gaps, separation, or deterioration where the deck meets the coping, and place those findings ahead of optional surface upgrades. During installation planning, account for drainage and clear walking paths so changes around the pool don’t create new maintenance or access problems.
To plan for storms, inspect frame connections, fasteners, and structural members, and address any damaged or loose components as part of a design suited to the enclosure. Keep the screen and frame system working together: adding features or changing openings can affect the structure’s requirements.
Common renovation risks include covering damaged connections with new finishes, creating drainage problems, and blocking access to pool equipment. For example, a new deck surface may look finished while leaving a deteriorated pool joint unaddressed. Write a scope that lists structural repairs, surface work, and feature installation separately. This order helps ensure a problem is corrected before it is covered.
Plan custom pool features around practical safety and use. Water features can affect splash patterns and the walking surface, while fans or lighting need suitable placement and installation planning. For winter use, assess how the enclosure’s design and planned features affect comfort and upkeep. A beautiful upgrade should preserve access to equipment and leave clear routes between the swimming pool, seating, and doors.
Keep a simple priority list: label each issue structural, functional, or cosmetic, and photograph its location. Note a loose connection before listing a new finish or water feature. Group related work, such as pool joint repairs with nearby deck work. This gives the renovation a clear order: address structural integrity first, resolve access and drainage concerns next, then consider comfort-focused improvements.
4. What are popular pool cage renovation ideas and design trends?
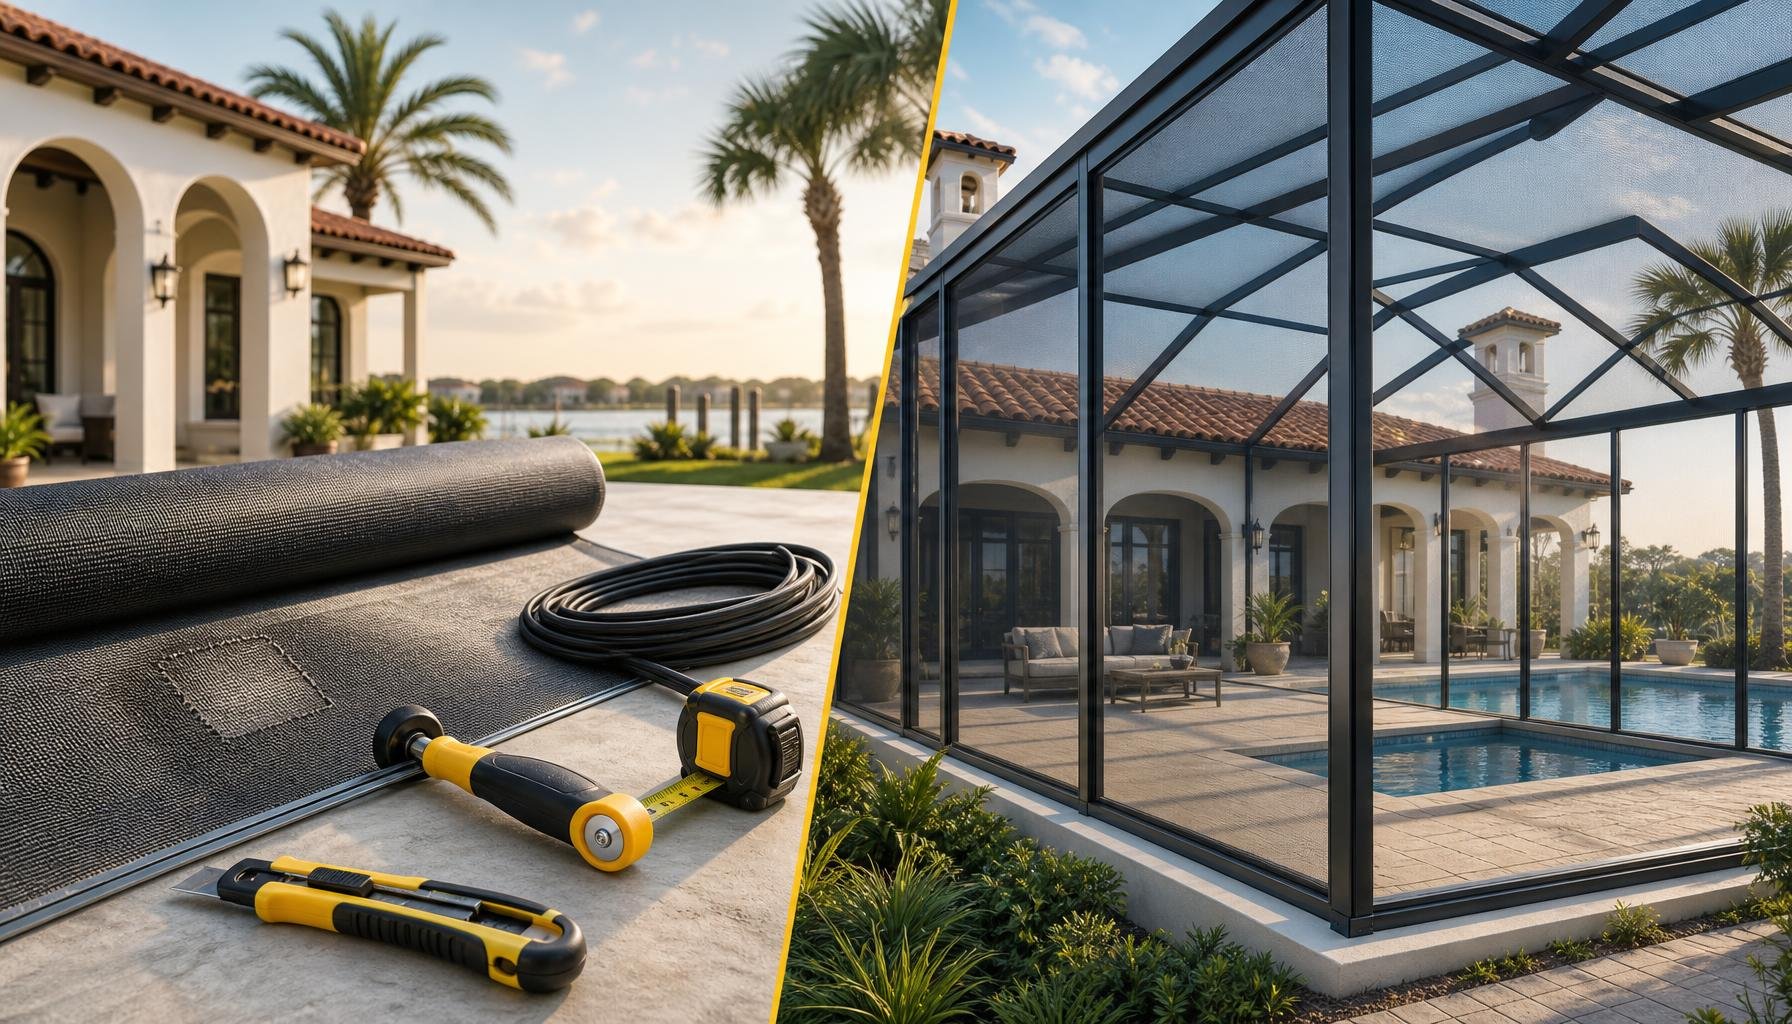
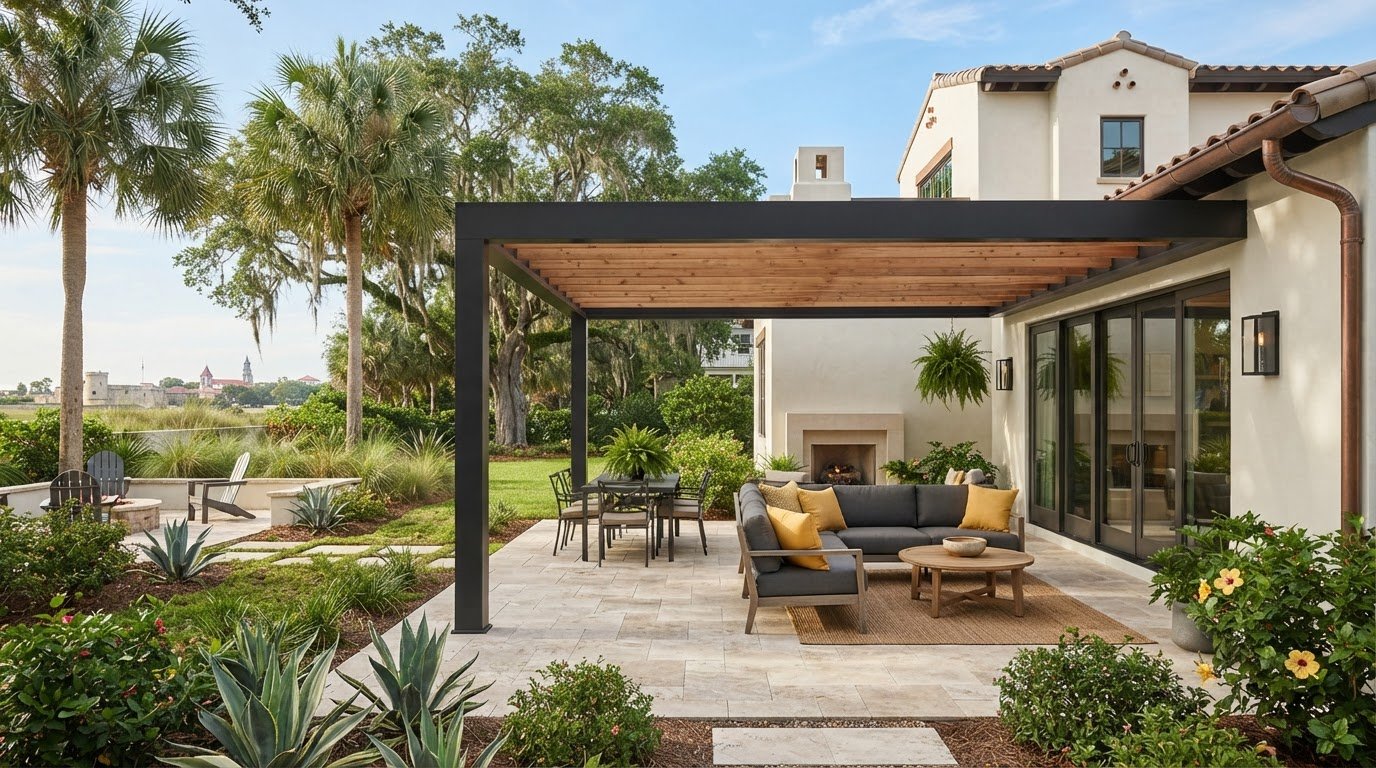
Useful pool cage renovation ideas start with how you want the backyard to function. Consider whether you want a clearer view, more shade, or a defined dining area. For a St. Augustine home, sketch the pool, doors, seating, and equipment before choosing finishes. This connects the enclosure design with the rest of the outdoor space and helps distinguish a visual upgrade from a change that affects structure or access.
A panoramic or Clear View screen wall can make the landscape feel closer by reducing visible frame lines across selected sections. Pair the view with a layout that preserves useful doors and clear routes around the pool. If your home faces trees or a garden, orient the larger opening toward that view. Plan the opening and surrounding frame together rather than treating the screen as the only design choice.
Use the roofline to shape the enclosure’s character. A triple-peak enclosure can be used for a resort pool measuring 60 feet, giving a broad pool area a more defined profile. For a smaller backyard, a simpler roofline may keep the cage visually balanced with the home. Compare the enclosure’s height and shape with nearby roof edges, patio doors, and the pool’s outline before selecting a design.
Lighting and ceiling fans can make a screened pool area more comfortable after sunset or in warm weather. Plan fixture positions around seating, dining, and equipment access. A dining table, for example, needs useful light without blocking a doorway or cluttering the space overhead. If the project includes electrical work, coordinate fixture placement with the enclosure plan and applicable permit requirements. Give each feature a clear purpose.
Define separate outdoor zones without overcrowding the pool deck. One area might hold lounge chairs, while another supports dining or a small outdoor kitchen. Keep circulation between the house, pool, and equipment unobstructed. For a covered pool planned for year-round use, consider how shade, lighting, and airflow work together; covered pools are presented as usable 365 days/year. Choose features that suit your actual routines, not just a display image.
Finish choices can tie the enclosure to the house and patio. Coordinate frame color, screen visibility, paving, and furniture for a cohesive look. A restrained palette can draw attention to the landscape, while a contrasting frame can define the enclosure’s shape. Before construction, gather reference images and mark preferred views, seating, and fixtures on a simple backyard sketch. This gives the design direction while leaving room for everyday use.
5. What pool cage screen materials are available, and how do they compare?
When comparing enclosure materials, distinguish screen mesh from solid panels. Mesh creates a screened boundary, while polycarbonate panels provide a more solid surface. They serve different purposes, so consider visibility, airflow, privacy, and how enclosed you want the space to feel. The right fit depends on how you use the pool area and which openings need screening.
For screen replacement, compare mesh options by their intended function and appearance. Standard insect screening offers a familiar balance of visibility and airflow. Tighter mesh can change both airflow and the view, so consider those trade-offs for each opening. Someone who values an open view may choose differently from someone who prefers a more enclosed feel.
Polycarbonate is a separate option for enclosure panels, not a type of insect-screen mesh. Pool enclosure panels are available in thicknesses from 6 mm to 25 mm. That range gives a design room to consider panel thickness alongside the enclosure’s purpose and configuration. For example, a panelled area intended to shelter a seating zone differs from a screened opening designed for airflow. Plan panel placement with the frame and overall enclosure layout.
Before committing to an enclosure-wide change, write down the goal for each side of the cage: preserving a garden view, screening a private corner, or improving airflow around dining furniture. Match the material choice to that goal. Using the same mesh across every opening creates a uniform look; combining screened sections and panels can define separate outdoor zones.
Material choice also depends on the existing frame and how each section is attached. Check the frame, spline channels, and fasteners before choosing new mesh. If a channel is damaged, replacing the screen alone won’t fix the attachment. A localized tear may call for a screen enclosure repair; worn mesh across the enclosure may call for a complete re-screen. Keep these options distinct from changing the frame or adding solid panels.
Bring the material decision back to maintenance and everyday use. Consider whether leaves, pets, nearby landscaping, or frequent pool activity affect particular sections. Note where airflow matters most and where a more enclosed surface would better serve the space. A simple sketch can mark those areas and the preferred material type. This makes it easier to discuss the scope of a complete pool cage re-screen and keep the finished enclosure aligned with the way you use the pool.
North Florida Screen Enclosures: Pool Enclosures
North Florida Screen Enclosures can help homeowners turn an enclosure assessment into a practical project plan. If the frame needs a new enclosure, its pool enclosure work fits that scope; if the existing structure remains suitable, complete re-screens and screen enclosure repairs address worn mesh or specific damage. The right starting point is the condition of the frame, attachments, and screen, alongside the views and outdoor use you want to preserve. Related improvements, such as a patio cover, aluminum balcony railing, or paver patio, can also shape how the pool area functions as a whole. For help planning your enclosure project, contact North Florida Screen Enclosures.
Shape the Pool Area Around How You Want to Use It
A renovation plan works best when it reflects how you want the backyard to feel and function over time. Choose changes that support everyday use, then make sure the design works with your home, outdoor space, and pool. The right pool cage renovation ideas bring these elements together instead of treating the enclosure as a separate feature.
North Florida Screen Enclosures designs and installs pool enclosures and related outdoor improvements, including patio covers with Elite Roofing Systems and aluminum balcony railings. These options can connect the screened pool area with nearby outdoor living spaces. Share the changes you’re considering and how you use the area to start planning your project.
Contact North Florida Screen Enclosures to discuss your project and move toward a pool area that feels considered, functional, and ready for the seasons ahead.
Frequently Asked Questions
How much does it cost to renovate or rescreen a pool cage?
Pool cage renovation and re-screening costs depend on the work scope, materials, frame condition, and access. North Florida Screen Enclosures provides project pricing after a quote request. A few damaged panels differ from a complete re-screen or repairs to framing and hardware. For a St. Augustine project, photograph the areas needing work and describe whether you want screen replacement or structural repairs, so the estimate reflects the intended scope.
What permits and building codes apply to pool cage renovations in Florida?
Permit and code requirements depend on the renovation scope and applicable local review in Florida. Distinguish screen-only work from changes to the enclosure footprint, frame, attachment points, or wiring. Before scheduling work in St. Augustine, write down the proposed changes and use that description to identify the relevant review process. Keep permit documents with the project records so you can compare the approved scope with the completed work.
How do pool cage renovation costs and rules vary by location?
Costs and permit steps can differ between St. Augustine and nearby jurisdictions because local review, site access, existing construction, and project scope vary. A cage beside a narrow side yard may require a different work plan from one with clear access around the pool. Changing the frame also differs from replacing mesh. Compare estimates only when their work descriptions match, and base code questions on the property’s municipality and proposed changes.
Comments